

0818 27 0151
Customer service
Customer service
Our customer support is available every working day between 8am and 5pm.
Tutorial: Create and assign budgets
Managers can create budgets and assign them to specific cost centres. Budgets are an effective way of planning and limiting your costs. Budgets within your Viking account must be assigned to specific cost centres to be effective. This means that it is always the combination of a budget and a cost centre that achieves the desired effect. To create cost centres, please also read the corresponding tutorial article “create and assign cost centres”.
Below we will explain how you can create budgets on your Viking account and assign them to specific cost centres.
Step 1:
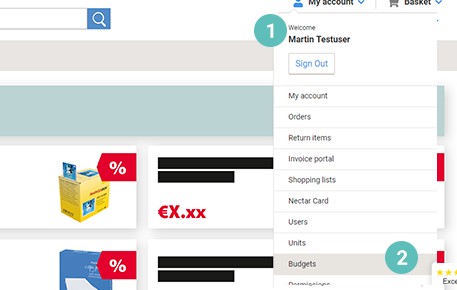
Log in to your Viking account as a manager
- Open the drop-down menu under “My account“ (1).
- Click the menu item „Budgets“ (2).
Step 2:
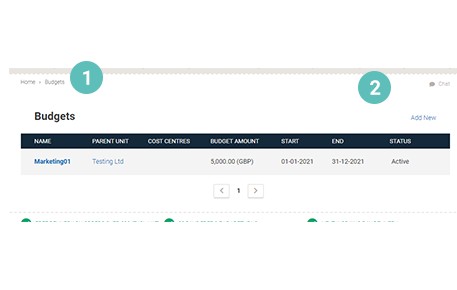
You now get to an overview of all existing budgets for your Viking account.
- To create a new budget, please click on “Add new” (1).
Step 3:
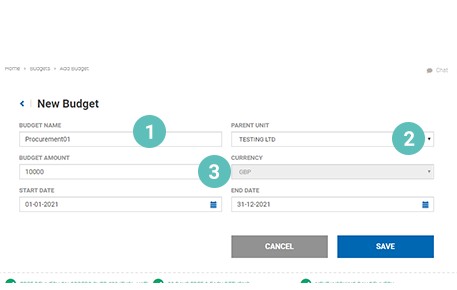
You can create your new budget.
- You can name the budget in the input field provided for this purpose (1).
- You can assign the budget to one of your existing units using a drop-down menu (2).
- You can set the amount of the budget in the input field provided for this purpose (3).
The currency is preset for your country and cannot be changed.
Step 4:
You can also set a validity period for your budget.
- Use the calendar functions "Start date" (1) and "End date" (2) to define the validity period for your budget.
- Please complete the creation of your new budget by clicking on “Save” (3).
Step 5:
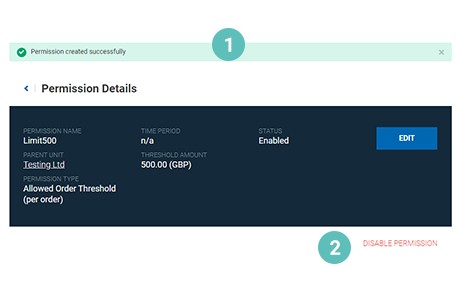
- The status message “Budget created successfully” shows you, that the udget has been created and saved (1).
- You can disable the budget if you no longer need it. To do so, please click on "Disable budget" (2).
Please note that a budget must be assigned to a cost centre in order to be effective. In the following, we explain how to assign a budget to a cost centre.

Step 6:
- Open the drop-down menu under “My account“ (1).
- Click the menu item „Cost Centres“ (2).
Step 7:
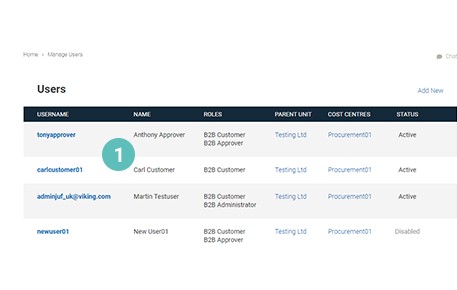
You now get to an overview of all existing cost centres for your Viking account. Please remember that you must create a cost centre before you can assign a budget to it. For more information on creating a cost centre, see the tutorial article "Create and assign cost centres".
- Please select the cost centre to which you want to assign your budget by clicking on it (1).
Step 8:
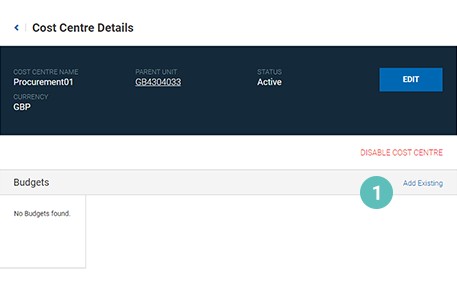
You now get to an overview of the selected cost centre.
- To assign a budget to this cost centre, please click on “Add existing” on the Budgets line item (1).
- MEDIA_list
- MEDIA_list
Step 9:
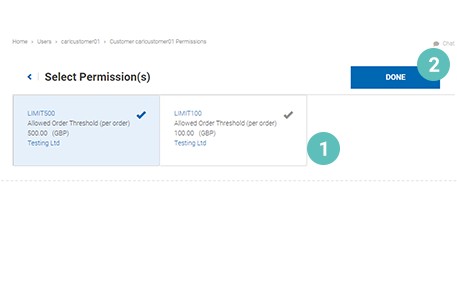
You get to an overview of of all existing budgets for your Viking account.
- To assign a budget to the selected cost centre, please click the tick of the budget you would like to assign (1).
The selected budget appears with a blue background after the tick is activated.
- Please click on done to complete the assignment of the budget (2)
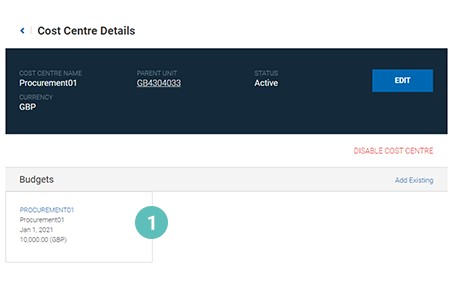
Step 10:
You get back to the overview page of the cost centre.
- You will now find the newly assigned budget on the overview of the cost centre (1).
This cost centre is immediately subject to the restrictions determined by the assigned budget.
Approvers can lift budgetary restrictions on an exceptional basis. For more information, see the tutorial articles on permissions.